Invite users in just a few clicks from your LifeTraq account — it’s easy! All you need are their email addresses.
GOOD QUESTION: Who can invite users? There are certain types of accounts that can and cannot invite participants to the LifeTraq platform. Provider and Expert accounts can invite other users, however, Approver and User accounts cannot invite others.
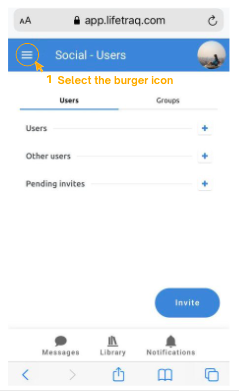
Step 1: Go to the Social page
Use the side menu on the left to select the ‘Users’ tab listed under Social.

NOTE: If you are on a small-screened device the side menu can be opened by selecting the burger icon at the top left-hand side of the screen.!
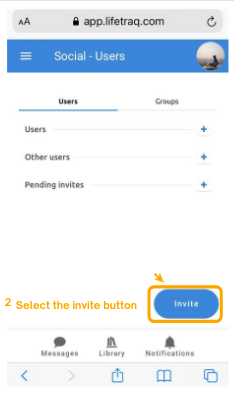
Step 2: Select the Invite button
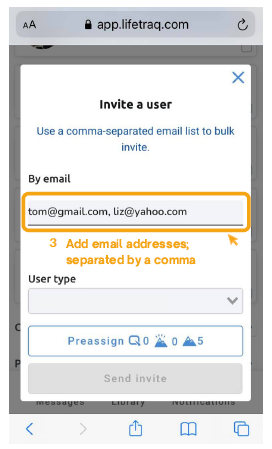
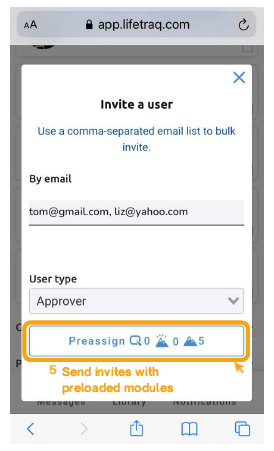
Step 3: Add email addresses
You will see a popup. In the ‘By email’ field, add the email address for people that you would like to invite. You can add more than one email address using a comma-separated list.
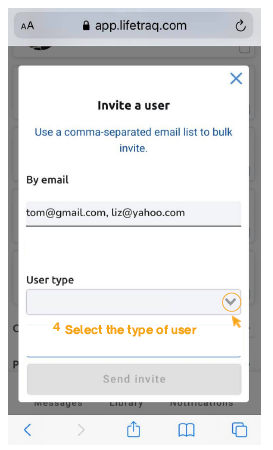
Step 4: Select the type of user that you would like to invite
In the ‘User type’ field, select the type of user you wish to invite. While custom user types can be created on request, the main user types are:
- Users: These are your end-users that will be participants.
- Experts: These are your staff or affiliates that will be managing participants.
- Approvers: These are your approval helpers that interface restricted entirely to approving any work they are assigned to help approve.
- Admin: These are your administrative staff that are permitted access to help manage your main account.
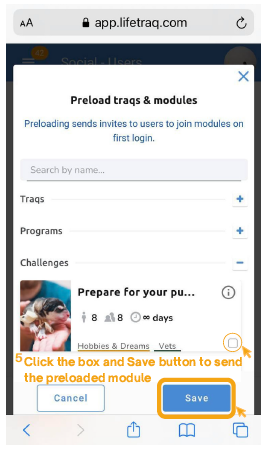
OPTIONAL Step 5: Preload Traqs and modules
If you would like users to be able to join Traqs or modules when they first log in, select the ‘Preassign modules’ button. You can also pre-assign expert or admin users: to ‘The Team‘ for a module or Traq; to be responsible for the completion of ‘Professional steps’; or for the ‘Approval’ of step proof submitted by users. Approvers can only be assigned to approve steps, they cannot be listed as team members. See what approvers can do here.
Select the module/s or Traq/s that you would like to preload using the checkbox in the bottom-right of the module or Traq card. You can preload as many as you like and then select the blue ‘Save’ button at the bottom of the popup.
Step 6: Send invites
Select the ‘Send invite’ button to send the invites.
PRO TIP: You can see what you have assigned from the icons on the ‘Preassign’ button. The Q is for Traqs, the shining mountain is for programs, and the regular mountain is for a challenge. In the example image below, steps in five different challenges have been assigned to an Approver.


